In this tutorial, we’ll show you the basics of uploading website files to your account using FileZilla. Filezilla is very popular free tool for uploading files via FTP (File Transfer Protocol – the internet version of copying files). You can download FileZilla from https://filezilla-project.org/ . FileZilla is fully compatible with our server file system and works on Windows, Linux and Mac.
Uploading Files with FileZilla
Let’s get started by connecting to the server. The easiest way to do this is the QuickConnect feature. You’ll only need three pieces of information.
The Host or Server Name: This is typically your website domain name. i.e. use-your-domain.com
Your User Name: This is the same as your control panel log in user name.
Your FTP Password: This is the same as your control panel log in password.
- You simply put these in the boxes at the top of FileZilla as shown below:

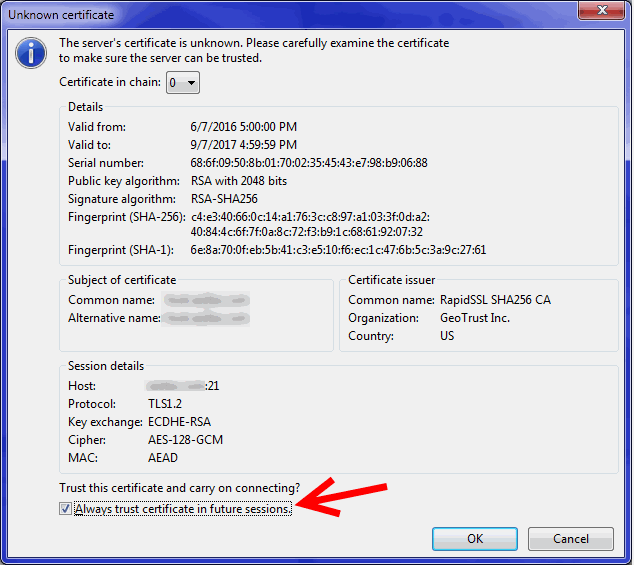
You “may” see a box like the following, just put a check in the box at the bottom and click OK.
If all goes well, you’ll see a verification that you’ve connected to the server in the log at the top and a listing of files and directories in the right hand section under “Remote Site:”. Website files go in the “public_html” directory so you’ll want to double click on that to view that directory.

In the “Local site:” section, you’ll want to traverse to the files you want to upload on your computer. In this example, we’ll upload the “index.html” file simply by clicking and dragging it to the Remote site on the right.

That’s all there is to it. You can use the control key (windows) and click on different files and directories to upload more than one at once.

Once the files are uploaded, there is no delay, they’re immediately available on the internet. If you upload a file and your browser doesn’t show the updated information, the cause is usually that your browser is caching the old page and showing you that. If that’s the case, restarting your browser will usually fix this.